
As a teacher, I’m always looking to improve curriculum to make it more meaningful and engaging for my students. Homeschooling my son is no different, and the process of looking ahead in the week’s lessons and making them fit my son’s learning needs is a fun challenge. One of the lessons in my son’s language arts curriculum addressed tinting and shading in a picture with a small activity to go along with it. Immediately my wheels started spinning….tints and shades….we can do that! My kids LOVE doing art projects of any kind, so when I find a natural way to weave in an art lesson into their day it is a win for everyone.
What is a tint and shade?
A tint can be made when any color is mixed with white, which makes a lighter color.. A shade can be made when any color is mixed with black, resulting in a darker color. This was a fun project, and easy to replicate!
Materials:
- 5-6 pieces of white construction paper, cut in half
- large piece of 12×12 white cardstock
- green tempera paint
- white tempera paint
- black tempera paint
- black construction paper
- crayons, markers, oil pastels, or chalk pastels
- 2 paint cups
- paintbrushes or foam brushes (we used these)
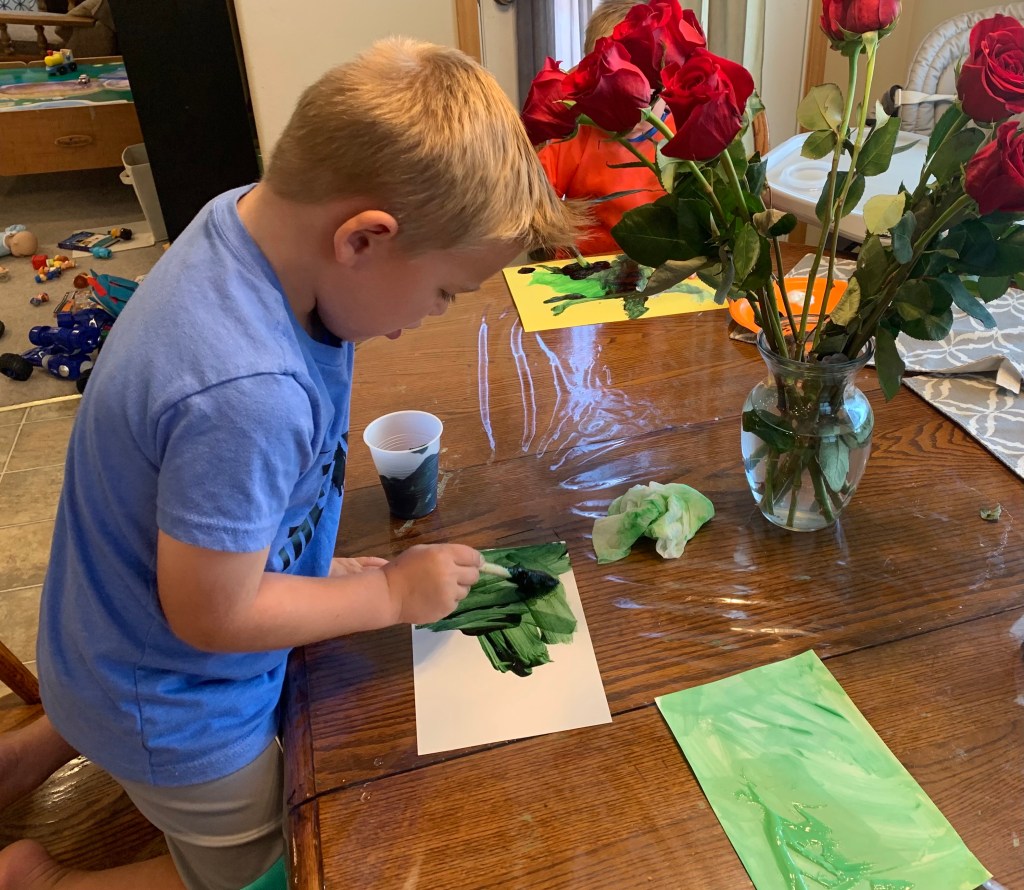
Step 1: Paint!
I let my son choose his favorite color – green! We poured some paint into one of the cups and painted a half sheet of construction paper green.
I gave him the bottle of white tempera paint and let him squirt in some white paint and mix. He then painted the next construction paper sheet with this tint. We repeated the process about 4-5 different times, each time adding a little more white to the paint.
Next we squirted green paint into another cup, and this time added some black. He painted white construction paper with this shade of green, noticing how much darker the green was. We repeated this process 4-5 more times, each time adding al little more black to the paint.


Step 2: Cut and Color!
The next day, after introducing the words foreground and background to my son, he cut triangles out of black construction paper to make mountains. We practiced overlapping them, and then he glued them on the 12×12 white cardstock paper.
He then took his green painted paper and cut one triangle each from the tints and shades. He overlapped these into trees below the mountains.
He chose markers to make the river, sun, and clouds. The last step was to draw a little snow on the top of each mountain with a white crayon. He was so proud of the finished product!

This post contains affiliate links. As an Amazon Associate I earn from qualifying purchases.
